
ezweave
That’s Wack!
- ,
- , Uncategorized
Not a day goes by, Dear Reader, when I’m not asked the question:
“What’s the deal with wack?”
I’m sorry, I meant “wax”, not “wack.” How wack. You and I are going to engage in a one sided discussion about a trending topic in the cycling world: paraffin based wax in lieu of conventional chain lube.
Wax Ain’t Wack
No matter how you feel about the topic (wax aside): you should clean and lube your chain regularly. WD-40 is not a lubricant (it’s for cleaning things, though they do now make bike lube). The cacophony of poorly lubed chains that echo off the walls of the Cherry Creek bike path is almost as bad as fingernails across a blackboard.
If you are new to cycling, perhaps “progeny of the pandemic,” I’m glad you’re here!
When I first got into bikes, of my own accord, a new generation of “dry” (wax) based lubes flooded the market and were as popular as slap bracelets and interchangeable parts. As a punk teenager, me and some guys from school… wait, that is “Summer of 69” not the “Summer of 99.” Apologies.

But I was a relatively broke engineering student, working part time as a janitor, and there were few upgrades I could make to my baby. That meant that things like cleaning my bike and general maintenance were paramount, because I didn’t really have spare cash for a new drivetrain. Aside from tools (happy to report that the Park Tool stand I purchased in ’00 is still being used in a buddy’s garage), “elbow grease” is essentially free. Time, though technically a “scarce” good per the lexicon of economics, seems like an endless sea of boredom to a teenager.
To that end, I got pretty nerdy about chain lubrication. I even followed forum advice and made my own from mineral oil and motor oil (don’t do this). I’ve tried almost every sort of lubricant under the sun, from Crisco to KY, on bike chains.
Learning the Hard Way
Jockey wheels are the source of all evil (dirt and grime) in your drivetrain. They pretty much require removal and a teardown to fully clean. This means pulling the seals and re-packing the grease as well.
Nearly all drippy chain lubricant is just a dirt magnet.
Chain cleaning tools (like this one from Park) are worthless. Many shops don’t even use them. The grade of polycarbonate used to make them resistant to degreaser (not just citrus, mind you) makes them brittle. They make a huge mess and, to boot, they don’t really clean anything but the chain… which is not going to help if your jockey wheels are encrusted in sin dirt and grease.
Uphill in the Snow, Both Ways
In 1999 White Lightning was on end caps at Performance and all my friends were using it. Perhaps overusing it. I spent more than a few afternoons disassembling my cassette to clean the yellowish wax (about the color of an old plastic lavatory seat) out from between the cogs. It wasn’t unusual to end up wrenching on a bike that had gobs of the crap wedged in every nook and cranny.

Wax based or “dry” lubricants like this are still on the market. They are composed of the wax itself and a carrier, designed to distribute the wax and help it penetrate into the links of your chain. The carrier in lubricants is expected to rapidly evaporate and is not really lubricant. However, to be frank: dry lubes suck. Per Cycling Tips:
“Dry lubes are mostly a carrier, which evaporates; they don’t last,” Kerin said. “They carry about 10% actual lubrication.”
Other lubricants operate in a similar fashion, substituting less carrier for more actual lubricant (and all of these are petroleum based, even wax), but the problems are the same: they’re dirty and (as that article points out), not very efficient.
In 2013, studies began to emerge that pointed to a much cheaper, option: paraffin wax. Famed cycling author (and very tall man), Lennard Zinn began talking about this strategy, much to the guffaw and dismay of many a keyboard jockey.
Unlike wax based “dry” lubes, a block of something like Gulf Wax (available at nearly every grocery store in the canning aisle), out performs all “chain lube” on the market. Back in 2013 I purchased a single box and I’ve still not used it all, despite usually having four bikes with waxed chains and re-waxing 1-2 chains a week. This, of course, begs the question: if it’s so great, why doesn’t everyone use it?
Good question, dear reader!
Like all things in life, there is a cost to using straight wax. “Cost” in the economic sense. It’s not all money, but in layman’s terms there are “down sides.”
Wack Cons
You must thoroughly degrease the chain. You can’t just let it sit in a tub of citrus degreaser overnight and expect good results.
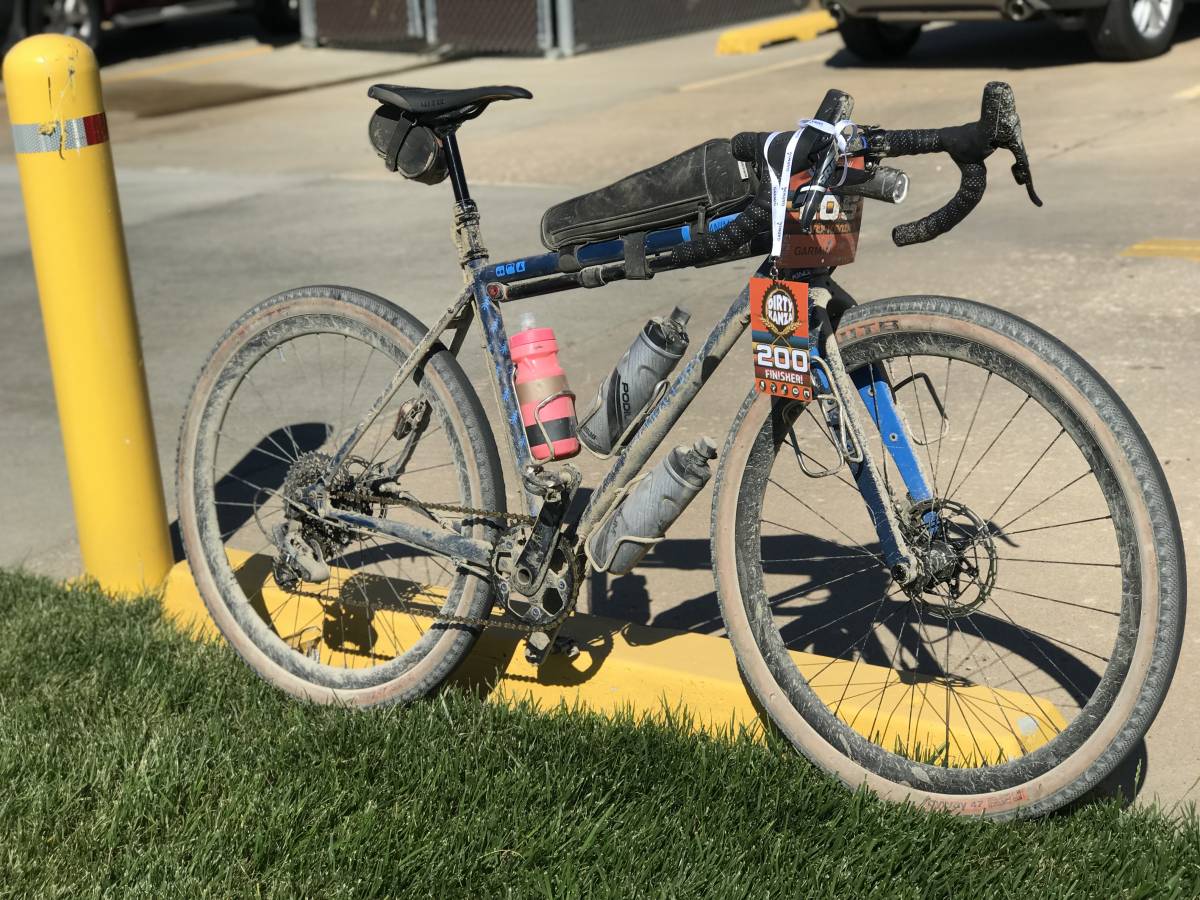
In extreme conditions (like the yet-to-be-properly renamed 200 mile gravel race in Emporia Kansas), it can wear off.
Waxing takes time and some equipment.
Pro Wack
Most efficient lube, by a wide margin.
Less likely to cause chain wear (mainly because dirt doesn’t stick to it).
Cheap.
Extremely clean. As in “I could eat off of my chain rings” clean.
Enough about the pros and cons of chain lubes. Let’s get wack!
Getting Wack
Now, many of you might want to investigate this whole “wackness” without laying out serious coin. I’m going to walk you through the tools and process I, and quite a few others, have adopted. End to end, it takes me about 20-30 minutes to wax a chain. This includes cleaning it and letting the wax harden. Cleaning may take longer, but it can certainly all be done in under an hour per bicycle.
What You’ll Need
Here is a list of what I use, anything that is optional I will denote:
Wax! I’ve been using Runaway of late, which I like because it comes in its own melting tub, can be refilled, and is black (like my soul). Molten is another, similar and popular option. If you’re mostly curious, canning wax is fine and far easier to find. However, the bike specific waxes throw in PTFE (Teflon) and a few other bits to make them a wee bit better at their job.
Degreaser. I use Simple Green HD for chains/small parts, though I keep a few bottles of bike specific degreasers around for other purposes as well.
An ultrasonic cleaner (optional). I used to degrease my chains “manually”, often resorting to the old “boil the dirt out” method (you literally boil water and throw the chain in… carefully). This “worked” but an ultrasonic cleaner is much better at the job.
They’re also fantastic for cleaning all sorts of parts (and jewelry). Go for the biggest one you can afford/fit. I bought a 3 liter model, because I mostly use it in my apartment’s kitchen. For larger cassettes (like an Eagle or E-Thirteen), I have to “rotate” the cassette to get it all cleaned, but it still works. Here’s the model I acquired from our online shopping overlords. There are a few brands, but I’ve never heard anything bad about them, assuming you don’t buy one from Harbor Freight.
As a general rule, don’t buy anything from Harbor Freight. I once bought a drill press from them… it did not end well. Then I bought a heat gun that melted itself. Fooled me twice… won’t get fooled again, right?
Chain pliers. I have a set of the Park Tool Master Link Pliers that are ten years old and going strong.
Re-usable quick links. To clean/wax your chain regularly, you need a quick link. If you have a Shimano chain, use their quick link (not the break off pin). SRAM tells you you can’t re-use their quick links. I’ve violated this for a long time and never had an issue. That said, I recommend just ordering a multipack from some terrible retail giant. Not only will you always have extras on hand, but it’s a good idea to throw a couple in your saddle bag. Wolftooth’s portable pliers even have magnetic catches to hold two quick links. Note: the Wolftooth pliers are great, but a dedicated tool (like the one I linked to above) works better in a shop/home setting.
Either a wax warmer (used in nail shops, here is an example, though I don’t have any recommendations or experience with them), a cheap rice cooker (I did this for a long time), or a decently sized stock pot/double boiler. Before I switched to Runaway, I was using an old Bustelo coffee tin. The double boiler (water goes in pot, coffee can/wax tub goes in water) or other warming device is necessary because paraffin is extremely flammable. It’s made from petroleum, so “duh.”
Baling wire (pronounced “bale-ing” as it was once used to bind hay or straw bales before mechanization) or similar (optional). This is how I fish my chains out of the wax and hang them up to harden. I use baling wire because I grew up working on my grandfather’s ranch and he used it for everything.
Bicycle pick tools (optional). Sometimes the baling wire falls into the wax. I just use a pick tool to fish it out (and then scrape the warm wax off the tool). They’re used for countless tasks in bike maintenance (popping seals, et cetera). A quality set will last a while, unless you snap one trying to rebuild a RockShox Reverb (true story).
A chain stretch measurement tool (optional). You’re going to be removing that chain more often now, with you new “wax-life”. Might as well start paying attention to its life. You need one of these anyway, or you’ll end up in some of the private social media channels (of course these exist) where bike mechanics show off pictures of poorly maintained bicycles and/or botch jobs. I am in a few of these groups. A common photo is a chain that can be bent (the wrong way: against the plates) and form a circle with itself. Or don’t, those photos are pretty funny. What’s schadenfreude? Is that like Freud’s favorite snack?
Wax On, Grease Off
The first thing you’re going to need to do is get that chain cleaned. Or, if it’s a chain with life in it, pop that puppy off your bike then clean it. If you’re sans ultrasonic cleaner, you’re going to have to do a few sessions of scrubbing to get the chain cleaned and you’re probably going to have to let it dry before you know it’s clean enough for wax. If you don’t get it clean enough, the wax will just come off immediately. I have done this. Don’t be like me.
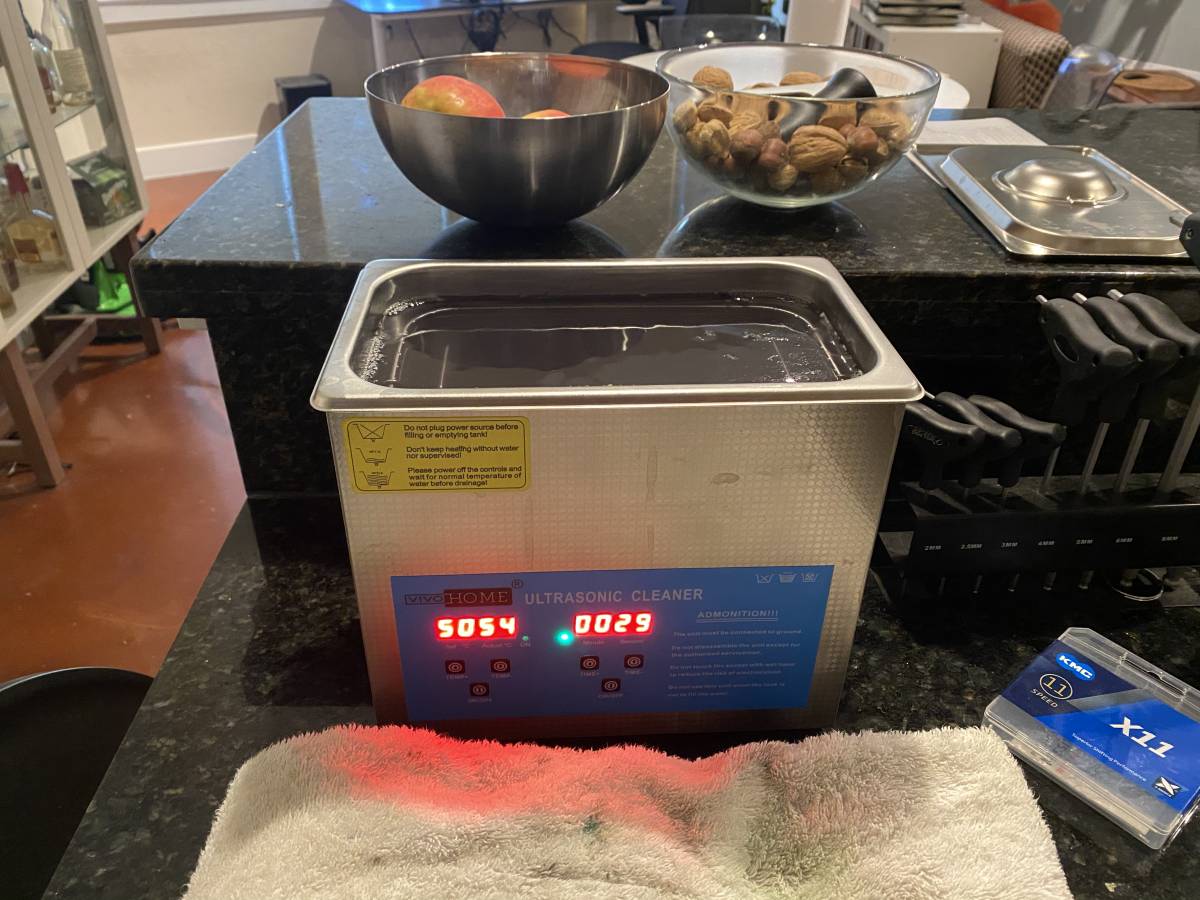
Now, I have my fancy ultrasonic cleaner, so I’ll assume you want to know how your author employs that tool in this process (the most important “tool” and arguably the most unreliable, is your author himself). I usually boil water in my electric kettle as the heater built into these cleaners is rather slow. I run with about a 2:1 ratio of hot water to degreaser, upping that ratio to less degreaser when the chain has been through the wax cycle before and isn’t filthy.
To be honest, I am not scientific about this ratio at all. I just wing it and it works fine.
I set the temperature to 50 C and the timer to 10-20 minutes depending on the state of the chain. A new chain is harder to clean, as the shipping grease is pretty viscous. If that’s the case I do 2-3 10 minute sessions in lieu of one 20 minute session. If it’s a new chain, I’ve usually already sized it (removing unnecessary links with a chain tool) and I snap the quick link on to make the chain whole (and easier to wrangle).
If you just want to clean the quick links separately, and for other tiny parts, I use a tea diffuser with a reasonably porous metal mesh. If the mesh is too tight, it will interfere with the ultrasonic cleaning, but the diffuser will keep small parts from falling through the ultrasonic cleaner’s basket (which makes them hard to retrieve).
Now, at this point, I usually start the water boiling in my stockpot. For Runaway, as the tub is less deep and larger (being purpose built for waxing bike chains), I only use 1″ of water. But I get this going while the ultrasonic cleaner is doing its thing.
When the ultrasonic cleaner is done, be sure to rinse the chain off and dry it. I use old towels for all manner of bike maintenance (again, apartment living forces me to keep things clean) and as you can see in the above photo, I employ old towels in this process. If you’ve rinsed and dried your chain and you can still feel grease on your fingers (after touching it and washing your hands thoroughly… if you don’t like pumice based hand cleaners, just use Dawn and kosher salt), you should do another round of ultrasonic cleansing. I will wait while you do so.

When your chain is ready, and the wax is melted, use your optional baling wire to make a loop around a link (to fish out the chain) or just toss it in. The amount of time it sits in the hot wax doesn’t need to be too long, but fifteen minutes is a pretty safe bet. It will end up pushing some amount of leftover grease out of the links and wax in. Even the ultrasonic cleaner can’t quite get it all. For a double boiler setup, you can usually turn the heat off now as the wax will stay pretty warm in the boiling water bath.
A word of warning: with Runaway, the low amount of water boiling tends to “spit” at you. So be careful.
After the chain has been saturated, yank that bad boy out.
I usually hang the chain over a paper towel from my work stand, but anything works. It will drip some. I usually put the wax pot under the chain almost immediately to save on waste. The point of letting it hang is to allow as much wax to drip off as possible. Otherwise, said wax will just end up on the floor/trail/tarmac and that’s just silly.
In an arid climate like Denver (and in my 72 degree, air conditioned apartment), my chain hardens within ten minutes.
At this point it will be a bit stiff. There is some waste here that is hard to recover as the wax kind of just flakes off as you put it back on. To make this easier, I usually flex the links over the trash can to reduce the amount of “wax dust”.
Now, snap that quicklink open and slap it back on your bike!
Quick Link Tips
Use the link pliers, vs stomping on the pedal while holding the wheel.
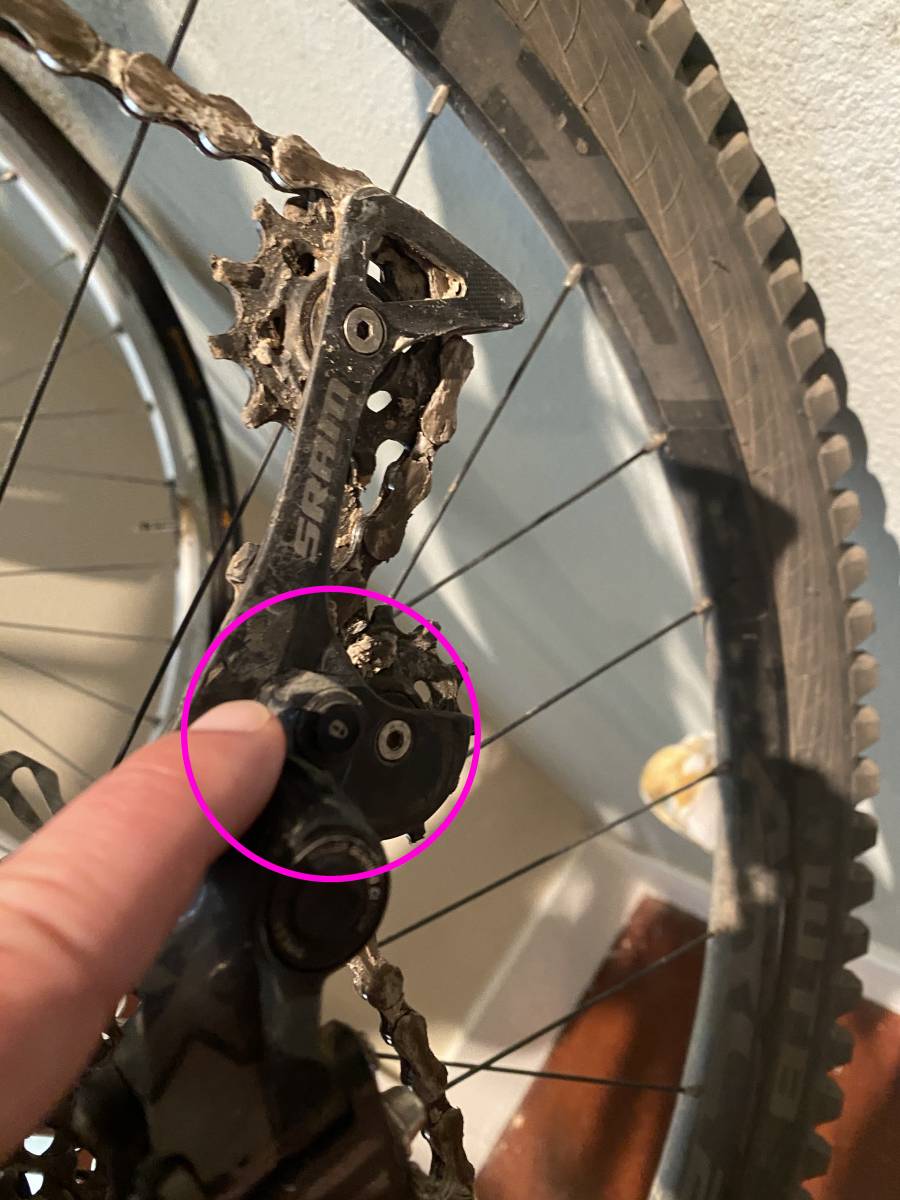
For SRAM drivetrains, most derailleurs have a “Cage Lock™” button that will keep the cage open. This makes it easier to reconnect the chain as there is no spring tension trying to keep it apart. (“You’re tearing me apart, Lisa!”)
For Shimano/those other drivetrains: if you have trouble getting the ends close enough, bend a paperclip or a bobby pin to act as another pair of hands. This “hack” is so common that some of the newer “chain checkers” on the market integrate this feature. In fact, one upside to the cheaper chain tools that are being mass produced and rebranded, is that they too have an integrated “chain hook” (it’s just some stiff wire with curved/hooked ends). No shame in using these things. I often use tire levers when I shouldn’t, so I won’t judge you. (But let’s keep that between us.)
Now the chain will always have a bit of wax on the plates. This is going to flake off, which is fine. The plates don’t need lubrication. The pins and the holes in the plates where the pins live, is what needs the wax.
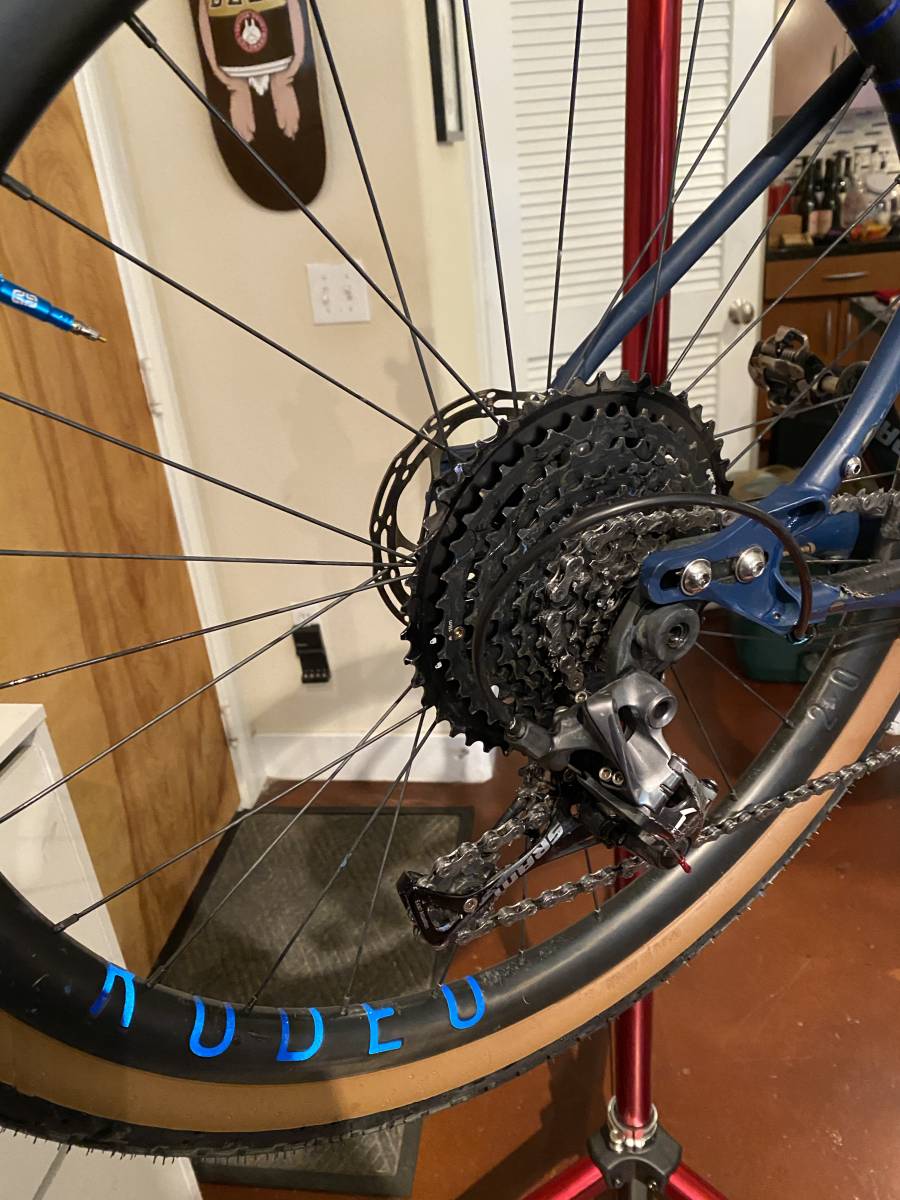
Because I’m already working with my previously chainless bike in the stand, I shift through all the gears to make sure not only that my whip is working smoothly, but that most of the excess wax flakes off. You can sweep this mess up, but I opt for a vacuum.
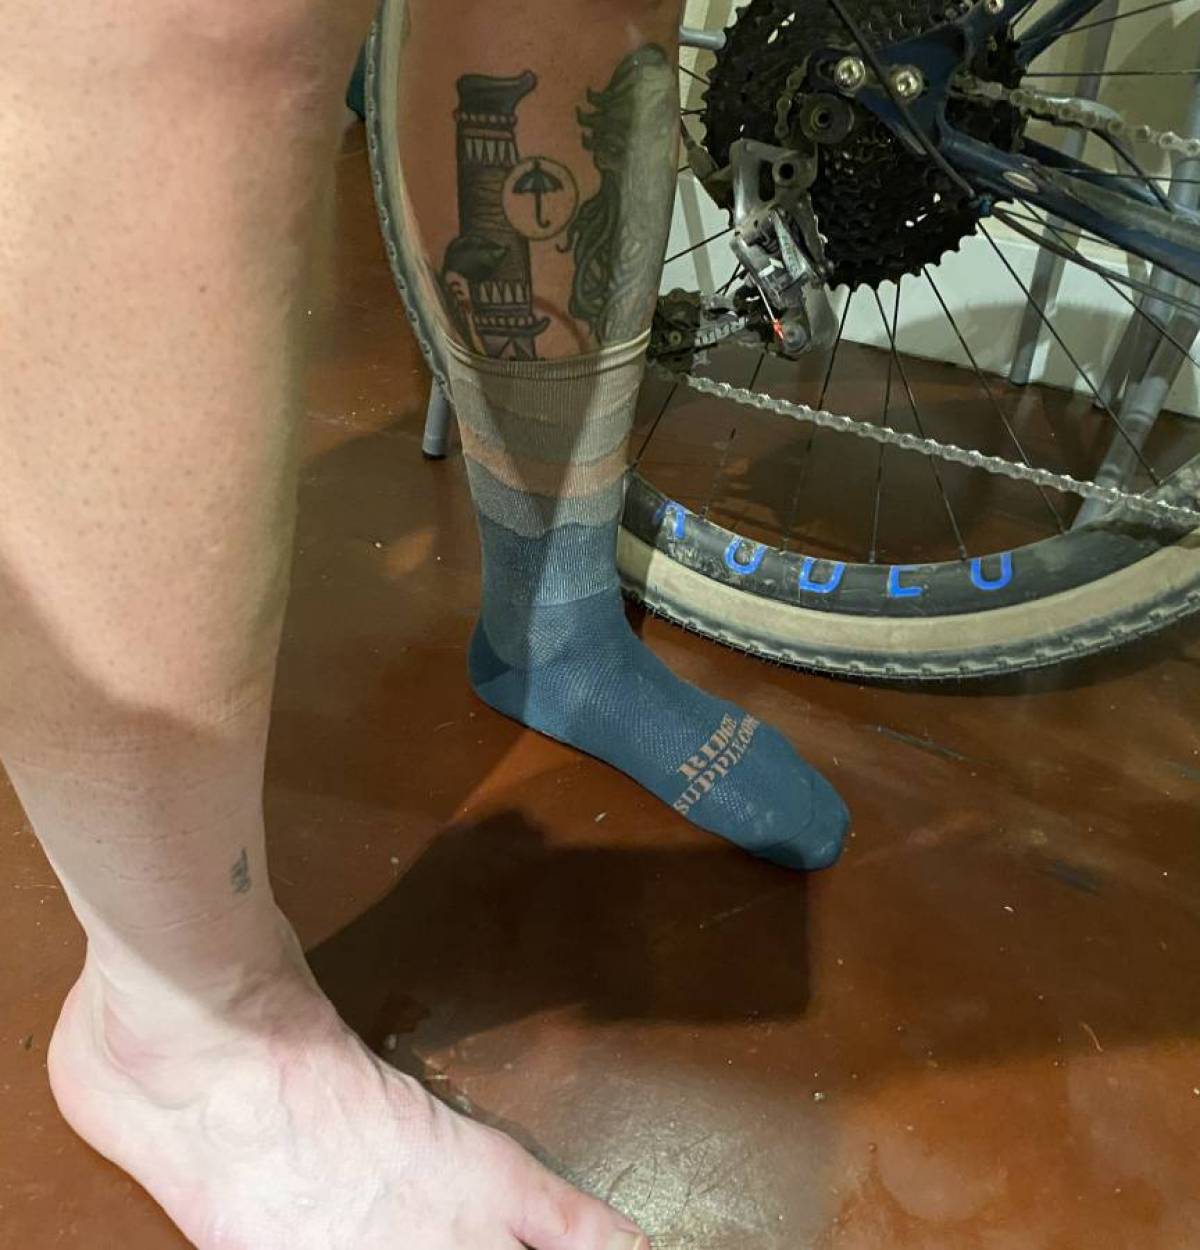
And that’s pretty much it. No more grimy drive train, no more risk of “Fred tattoo.” Just smooth sailing… well maybe. More on that in a moment.
Supplemental
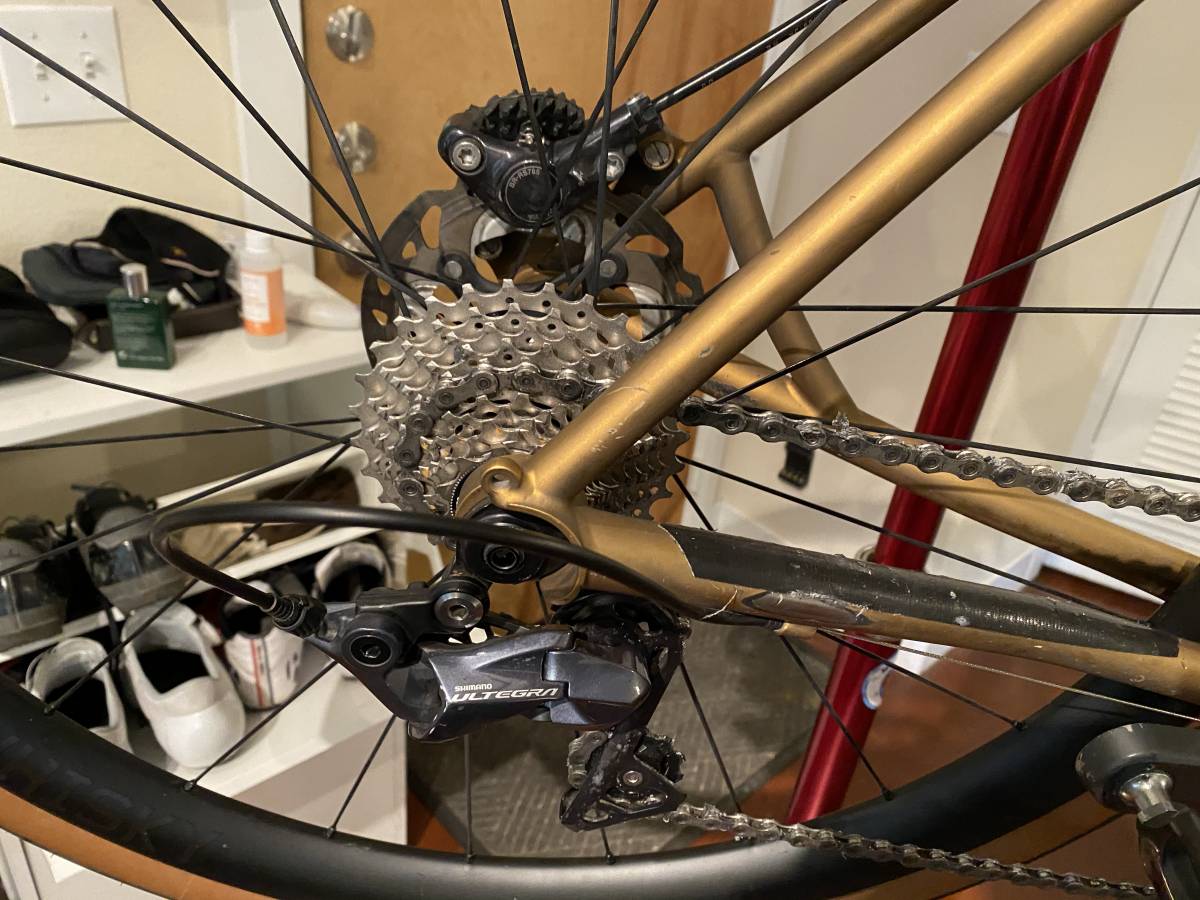
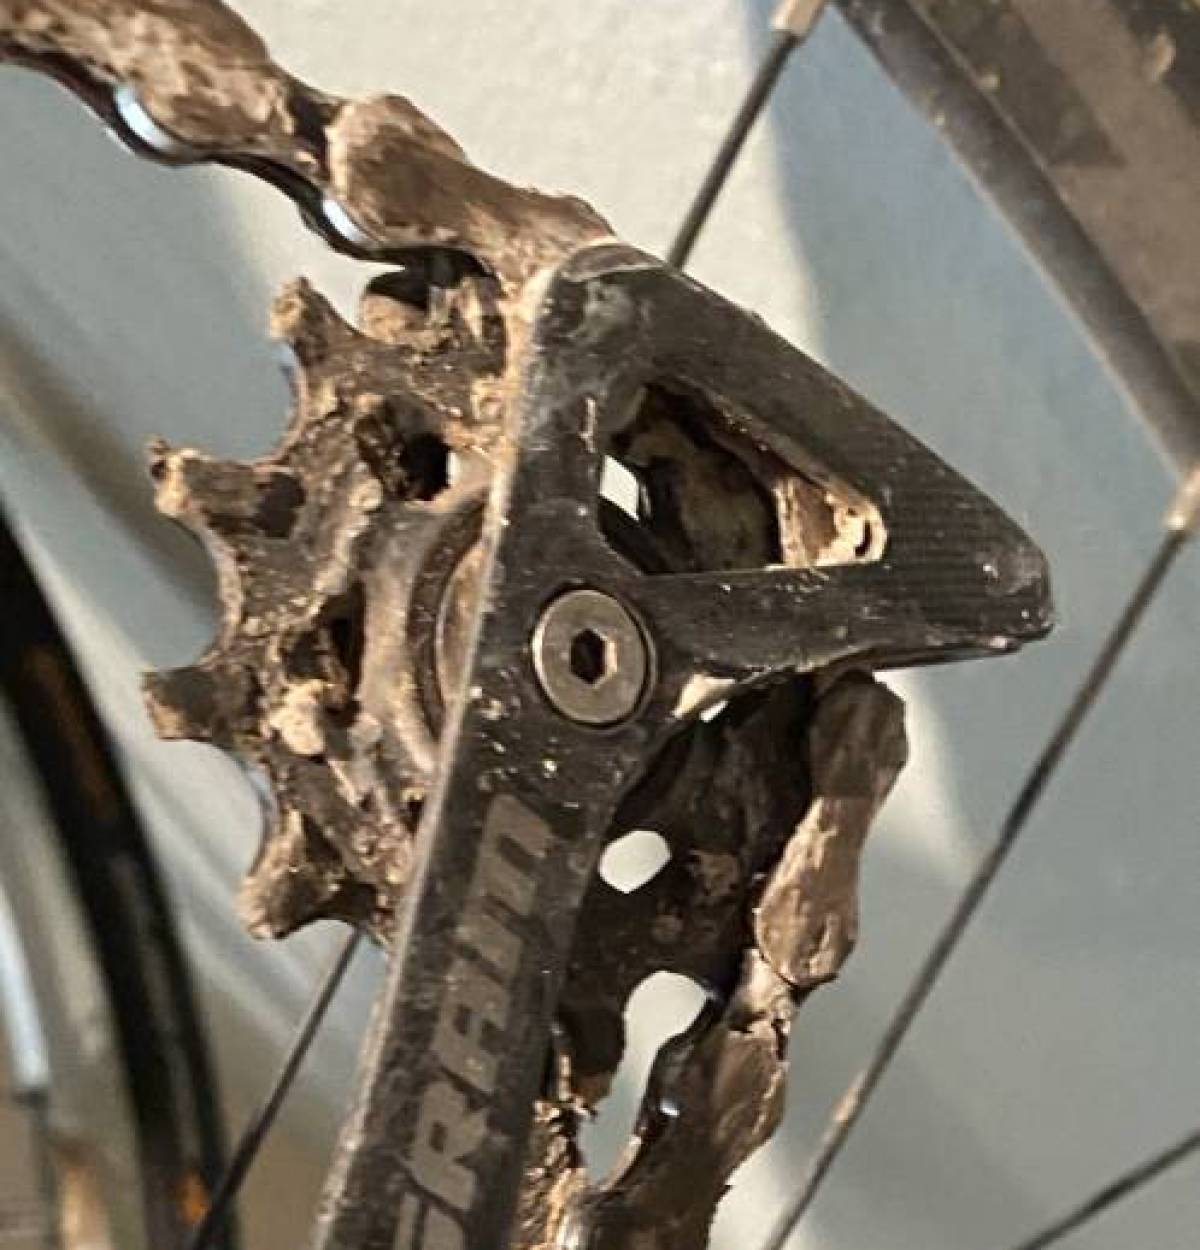
You should probably clean those jockey wheels, especially if you are moving to wax from chain lube. You can do this in an ultrasonic cleaner, but you will have to regrease the bearings. Or you can just buy new jockey wheels if yours are pretty fouled.
Similarly, clean your cassette and chain rings. Not required, but I really like getting all the remnants of my “old life” out of there. Clean slate and all that rot.
Now there are a few issues I haven’t addressed, with regards to wack. I mean wax.
First off, wax is not a panacea for drivetrains. Nothing is. In really dry, dusty conditions, my chain can get LOUD. This does not mean that the wax is “donezo” by any measure. It might be. Often it’s just dirty. If you’re at an event or out there in the hills, just splash it all with a blast of water. I know this rather smacks of the “baling wire and duct tape” mentality, but it actually works. Case in point, after a very dusty ride down the Highline Canal trail in Denver a few weeks ago, my entire bike (and myself) looked like I had run into some sort of flour mill (or Pablo Escobar). When I pedaled, it sounded like a bag of marbles dropped into a centrifuge. After I hit it with some water, it was 100% fine. You can tell by feel how much wax is left. If it’s still a little “waxy” (e.g. “slippery to the touch”) it’s probably fine.
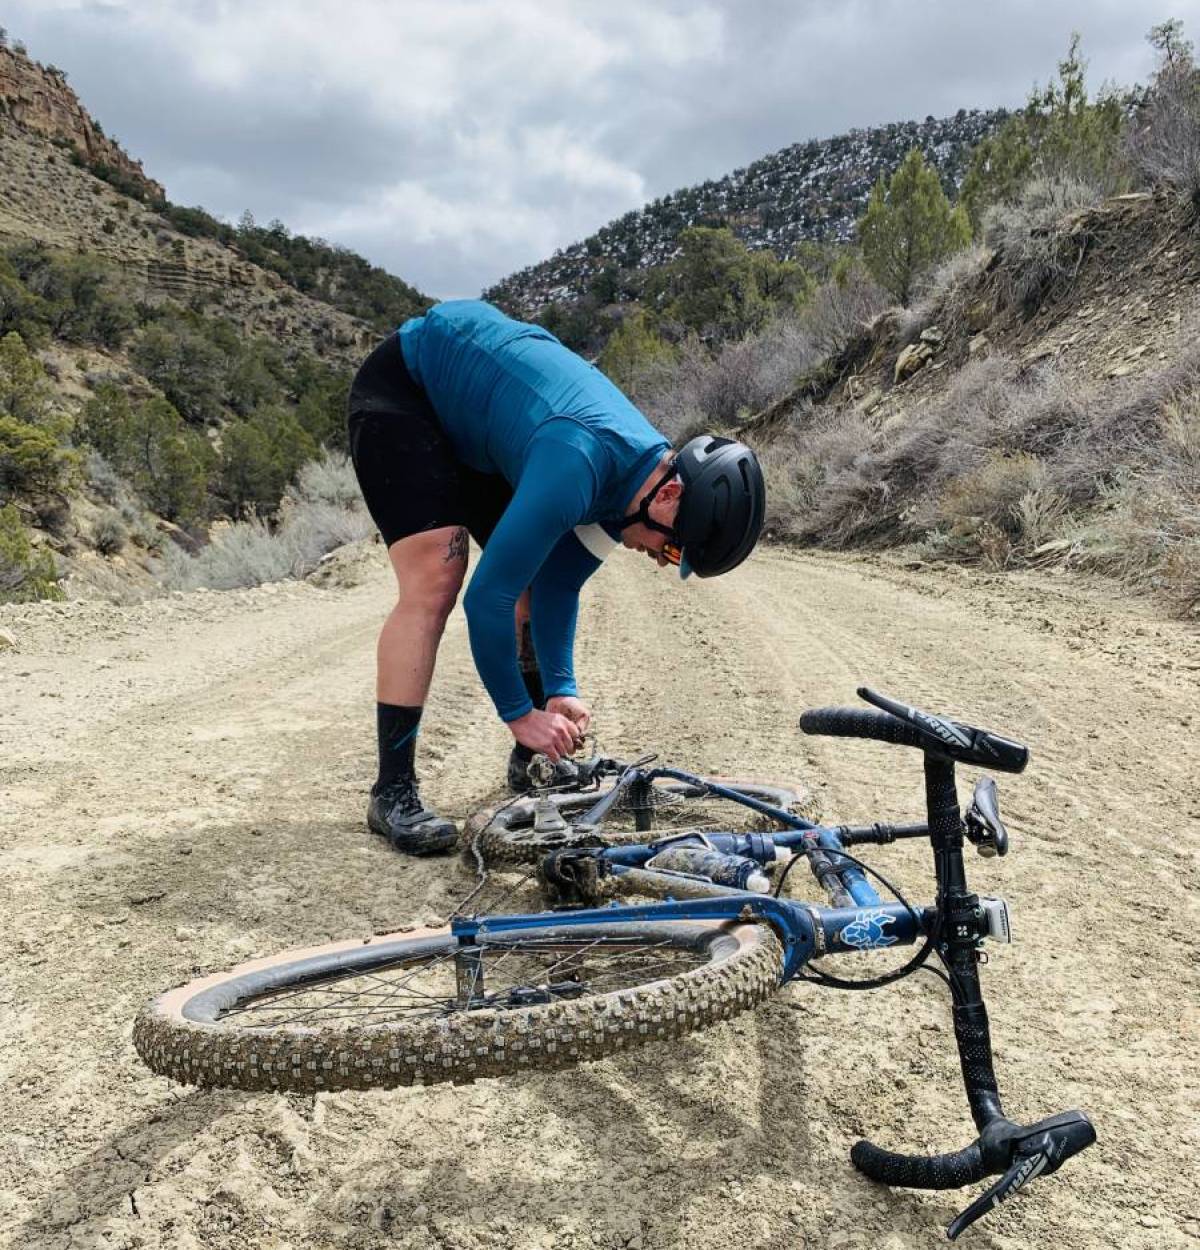
In really nasty conditions, like a double gran fondo gravel race I did near Salida in early spring about five years ago, you might just have to say “screw it” and hit the chain with some “wet” (aka “Race Day”) lubrication, as I mentioned before. That race involved a great deal of “peanut butter” like mud and no drivetrain was safe. For big events, I always carry a tiny bottle of race day lube.
You don’t have to wax every week, either. I’ve heard tale of folks going 1000 miles without rewaxing a chain. I, on the other hand, ride around 200 miles a week and feel like the weekly waxing is just part of my lifestyle. I’m often telling my significant other, “not now baby, I’m waxing.”
If I actually said that, I’d be single.
Now that we’ve gotten to know each other a wee bit (“I like people, places, and things”) I’d like to address one more lubrication option… non-melty wax.
Other Ways to Wack
The main offering in this narrow field is Wend Wax.
In an attempt to both ease the burden of my waxing sessions and afford me the chance to carry the same lube I’d use normally during big gravel events/silly rides in the middle of nowhere, Wend seemed rather compelling. I was actually on a ride with some industry folks in Boulder a few years ago, when one of them extolled its virtues. Now this cyclist was an actual pro and Wend was/is (I don’t know him that well) posting factory waxed chains regularly to him. I am not remotely “pro”, just a slow-and-getting-fatter amateur so not only is that not a real option (I’m not going to spend hundreds of dollars on chains every month), but it also seems quite wasteful.
So last summer, I rocked (ahem “used”) Wend on my Flaanimal at multiple races and, if you have a keen eye, you can see my “blue” chain in some of the shots we took out in Silverton during the Rodeo Silverton Project. The chain was actually black, the wax was blue. Wend makes the wax in colors so you can tell when it wears off as well as yet another marketing tactic for the sartorially inclined cyclist.

For those who have hung around this far, I’ll expound, but if Netflix (or the trail) is calling, the short version is: I’m back to melting wax.
What I Didn’t Like About Wend
It is far messier than melting wax. I am still cleaning up blue (and white as I ran this on two bikes) smudges in my apartment, my Element, and at our family cabin. It just got everywhere no matter how careful I was.
It makes jockey wheels squeak. The wax seems to like to hang out in the little holes in jockey wheels and each pedal stroke results in the sort of “wonky wheel” sound you get from a shopping cart (trolley for you UK folks) that needs some love. The only remedy was constant cleaning. It became more work than melting wax.
It requires just as much prep work. Grease is still the enemy of this non-melty wax.
I applaud Wend’s attempts to make a product that is easier to apply than melting paraffin based waxes, however other than the factory waxed chain, it seems to be worse than either using conventional chain lube or melting wax. Sort of a “lose-lose” situation. Ick.
Wax Life
Now, some of you might just think all of this “wack” business is just that. Hey, that’s cool. Honestly, even if it were not the most efficient lubrication, I would use it solely because it is just so clean. I used to spend just as long cleaning cassettes and jockey wheels every week as I do waxing chains, which is to say that I’m a bit obsessive. I will be the first to admit that for new-to-the-sport folks, this is all a bit intimidating. Again, at least lube your chain and clean it regularly, no matter what method you use.
For those of you who are already living that wax-life, let me know what you think of my approach. There are many ways to skin a cat.

For now, wax on or don’t. I’ll see y’all out on the trail!


3 Comments
I love my waxed chains. One of the best things I’ve ever done for my bike and myself (no greasy chain is better for everything, including when you knuckle under and ride inside).
Another chain cleaning option for anyone without an ultrasonic cleaner:
https://www.youtube.com/watch?v=yM4c7MwEmMs
(Josh from Silca, demonstrating in his driveway).
For lengthy events like DK, SBTGRVL, or multi-day tours (Oregon Trail, GDMBR, pedaling to visit your mom when she lives far away), put a coating of this over the top of your waxed chain and bring the bottle along: https://www.tru-tension.com/product/bananaslip-tungsten-all-weather-lube/
Reapply as necessary.
And if you *really* want to go down the rabbit hole of wax lubes: https://zerofrictioncycling.com.au/lubetesting/
Executive summary: degrease your chain really good; immersion wax; put the Banana Slip on top if you can’t re-wax like normal.
Oh, and, if you don’t want to immersion wax, degrease your chain and use the Banana Slip.
Good to know. Whenever racing starts up again I’ll have to give Banana Slip a try. And yes, to alternative cleaning methods. But really an ultrasonic cleaner is a worthy investment for all sorts of purposes.